


If your Yealink IP phone has built in Wi-Fi, please skip directly to Step 3 of this setup guide.
Step 1
Decide which Yealink IP phone you’d like to install the WF50 on. If it’s a new IP phone that hasn’t been added to your Ooma Office account yet, add it to your Ooma Office account and assign it to a user. If you need help, refer to the Quick Installation Guide that came with the phone or visit the support page(s) for your specific phone.
Step 2
While the phone is unplugged from a power source, insert the WF50 dongle into the USB port on the back of the phone. Connect the phone to its power source and power it on.
Step 3
Connect the IP phone to the desired Wi-Fi network by completing the following steps:
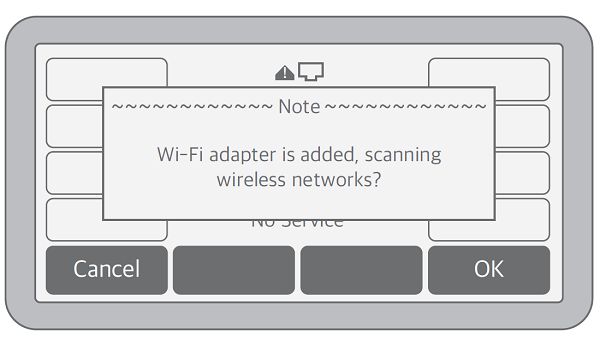
Once the phone recognizes the Wi-Fi adapter, push the OK softkey to scan for available Wi-Fi networks.
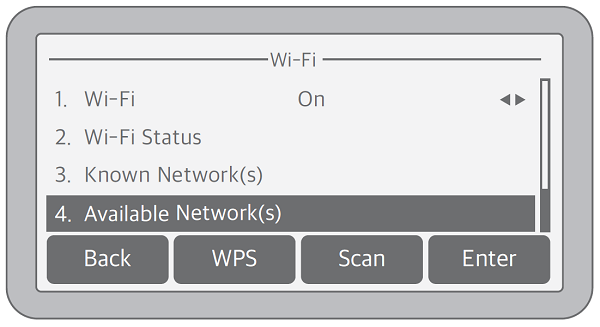
The phone will list the number of available networks it has identified. Push the Enter softkey to continue.
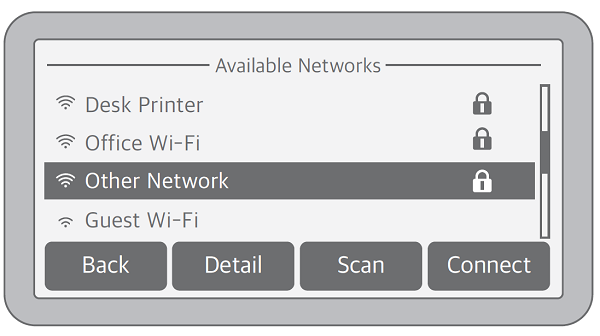
Use the up and down arrow buttons to scroll through the available networks and highlight the one to which you’d like to connect. Push the Connect softkey.
If necessary, enter the Wi-Fi network’s password. You can do this by using your phone’s softkeys and its numeric keypad in a “multi-tap” approach that allows you to toggle between uppercase and lowercase letters as you enter each character. For example, you can enter a lowercase “b” by pressing the ABC (or 123) softkey until it displays abc and then pressing the 2 key twice. A lowercase “b” will display in the Password field on your phone’s display. If you make a mistake, simply press the Delete sofkey to erase that character and try again.
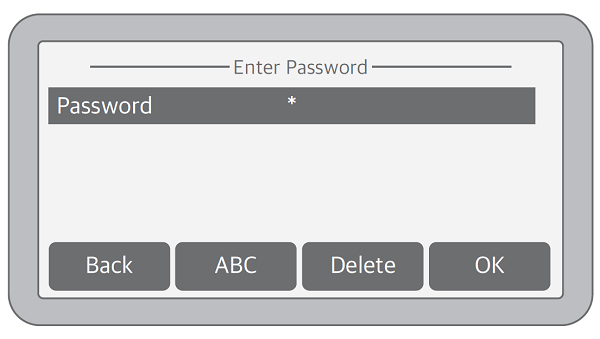
Once you have entered the password, push the OK softkey to connect to the network.
In the future, your phone will remember this connection as a Known Network.
Once the phone connects to the Wi-Fi network, it will access the Ooma Office system. It may need to download updates at this time. While the phone is updating, it may need to reboot up to two times. This process happens automatically and takes a few minutes to complete.
Step 4
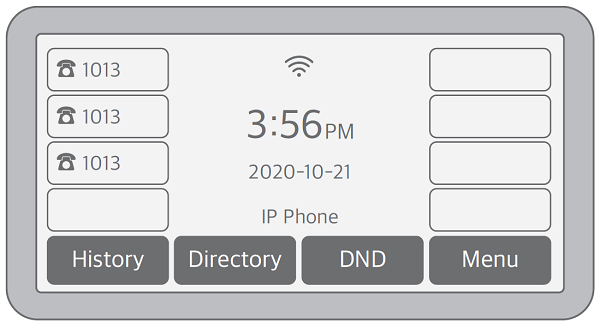
Once the phone is connected to the network and fully updated, the time, date, and username will appear on the display. The phone is now ready to place and receive calls.
Troubleshooting
To access the phone’s Wi-Fi settings in the future, navigate to: Menu –> Settings –> Basic Settings –> Wi-Fi.